Day 12: September 9

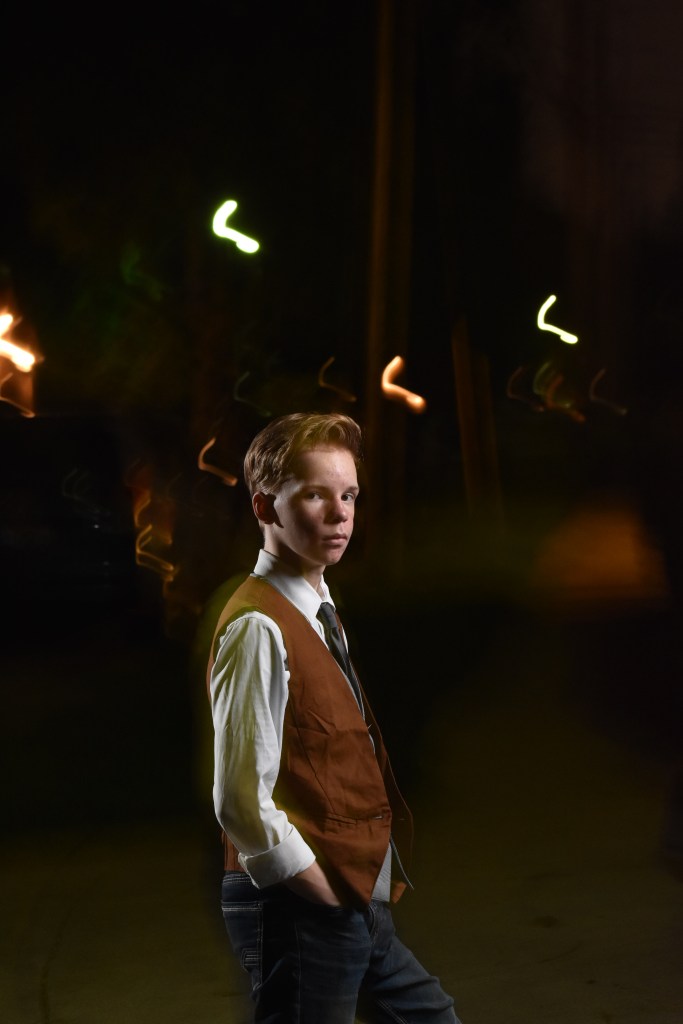
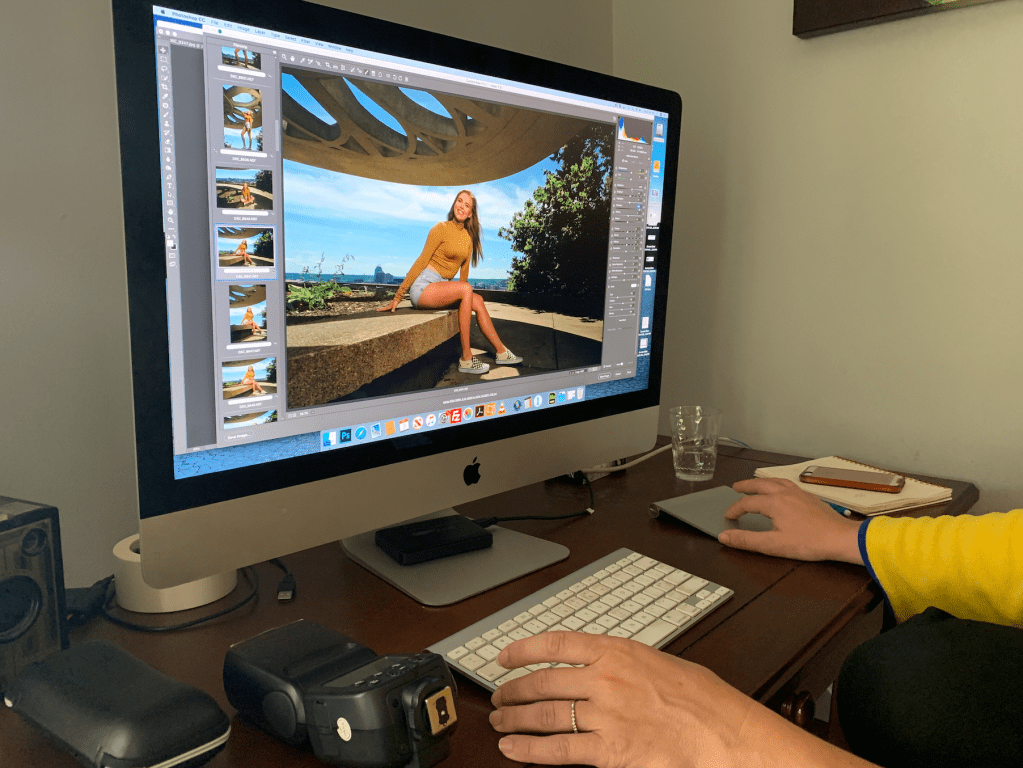
Today, Holly showed me how she was planning on editing the Film Noir photos using the ones we had taken on Friday of Gabe while we waited for an ordering appointment for one of her seniors. She showed me two different ways that she could go about editing the photos: turn the photo black and white first and then do other edits or do the edits first and then change it to black and white. Holly says that she prefers to do the second because it is easier to do complexion edits on color photos. When she edits in color first she will periodically change the photo to black and white to see how it will look in the final photo.
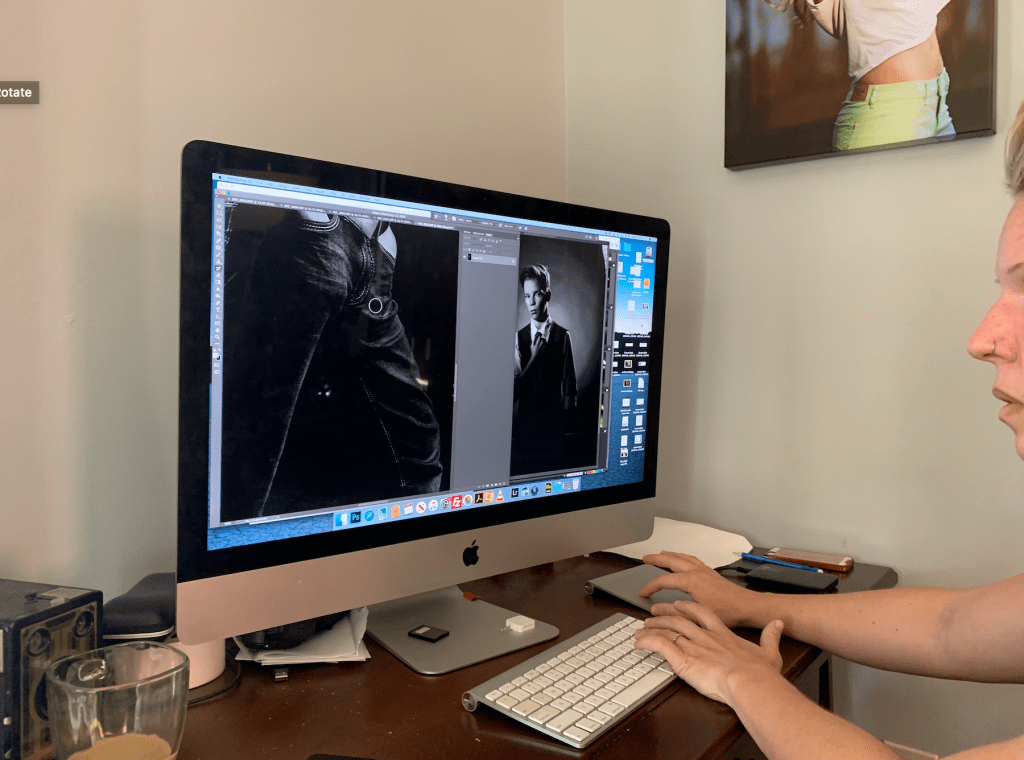
When it was time for the ordering appointment, Holly set up the television and connected it to her computer so the clients could see the photos on a larger screen and decide together which ones they wanted to purchase. After they narrowed their selection down from about 120 photos to 60, Holly discussed different options for them to purchase based on their price range and how many pictures they wanted to buy. There are many options, such as photo albums, wall hangings, and high-resolution digitals. Ultimately, the clients decided on getting 25 high-resolution digitals because they didn’t plan on getting prints or wall hangings in the immediate future, but they can be used to get them eventually if they wanted to. One of the most important parts of ordering appointments is for the photographer to be the guide rather than the client to take over, or else the appointment can end up being 3 hours long.
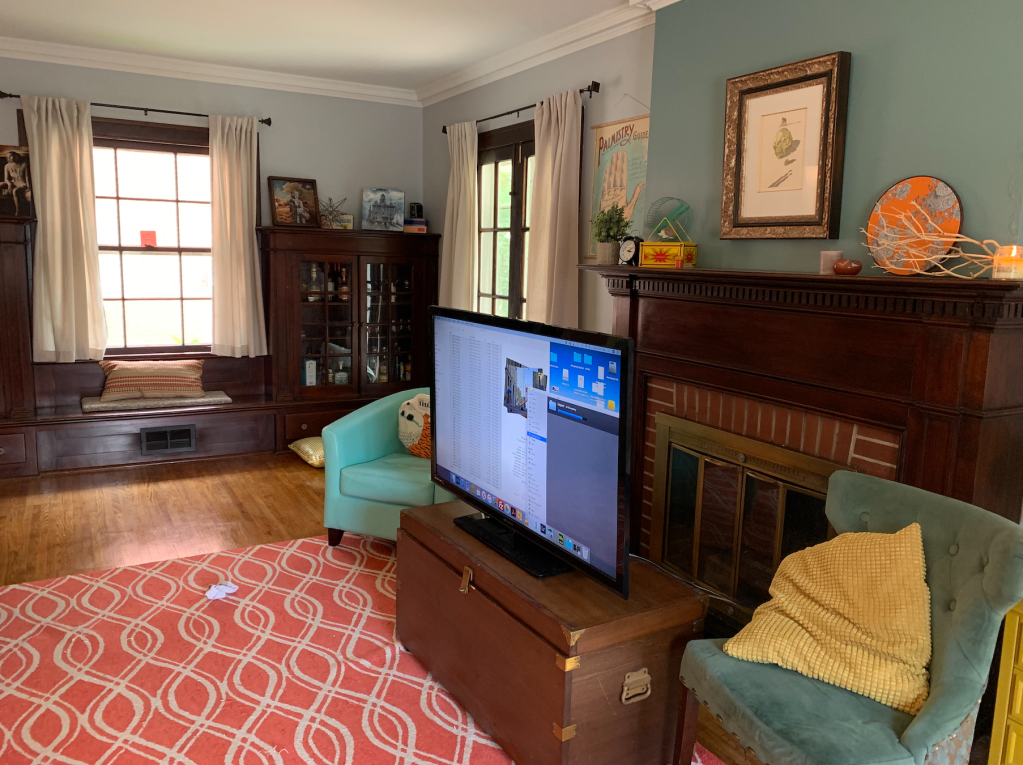
During the appointment, the clients-the senior, her mom, and her grandfather-sat on the couch in front of the television and went through the photos. They all discussed which photos each of them wanted and eventually went from 120 to 60 to 25, which is very hard.
Day 11: September 6

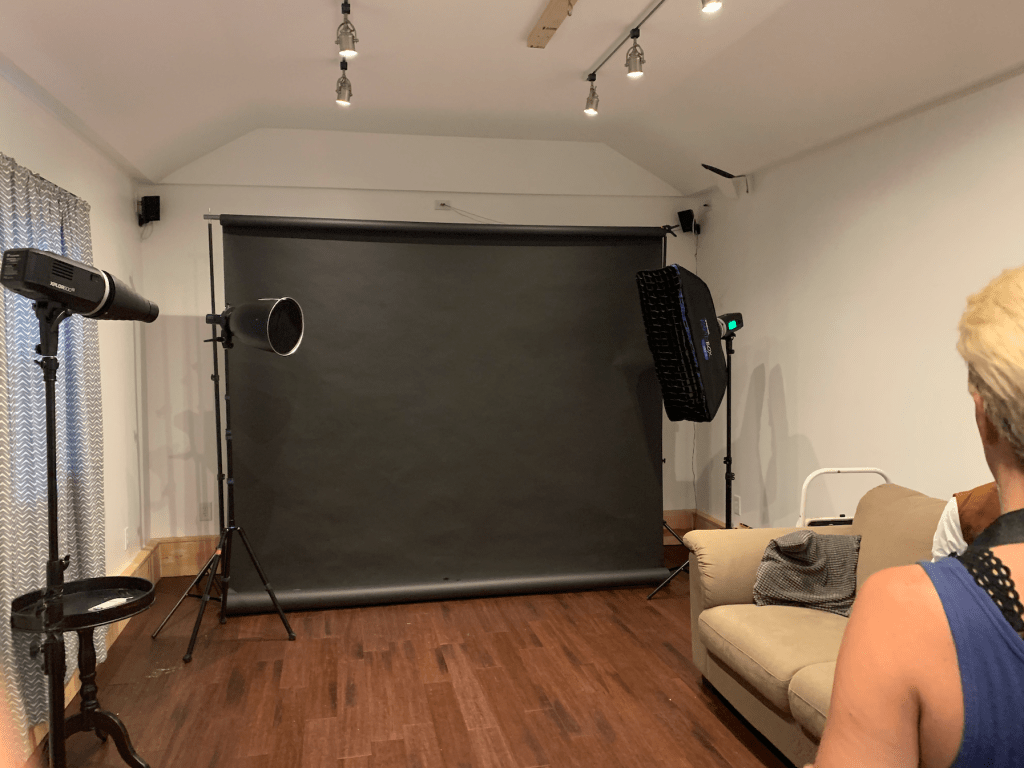
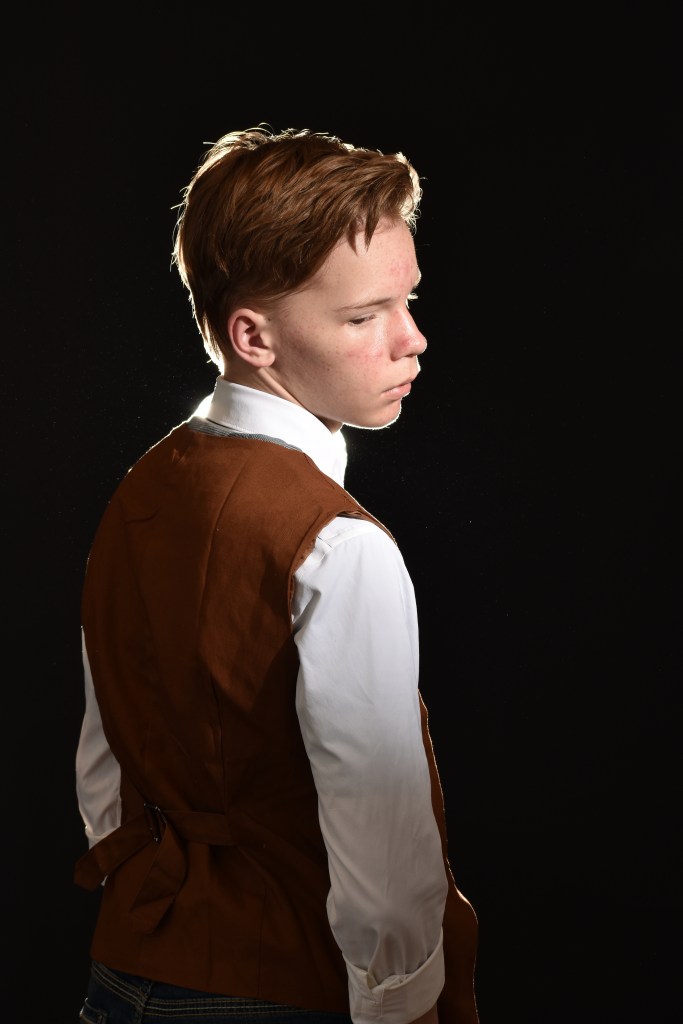
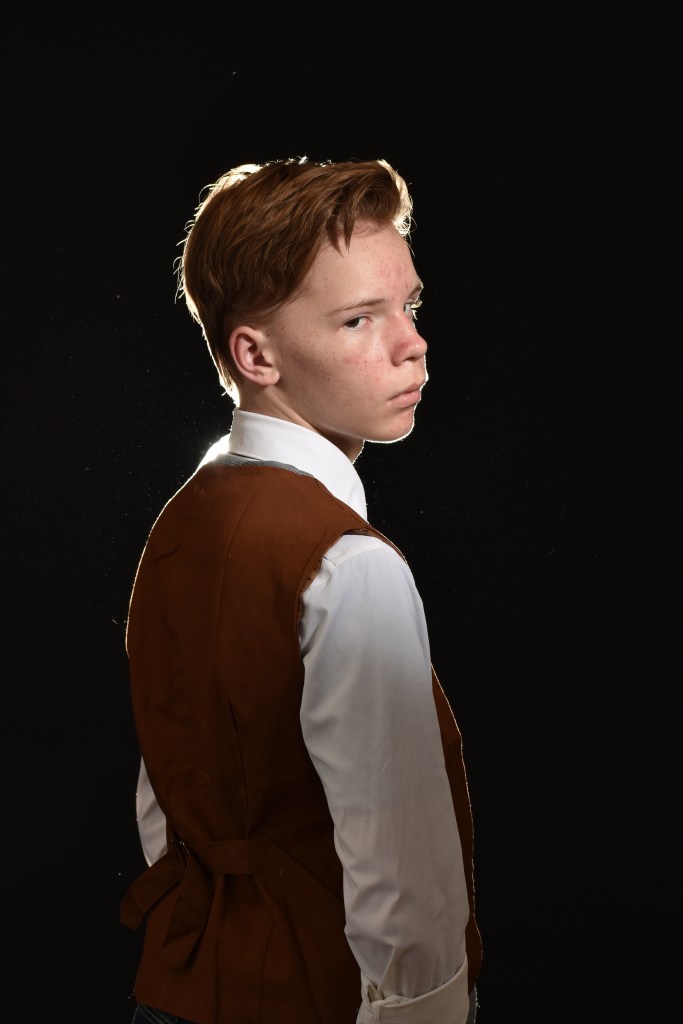
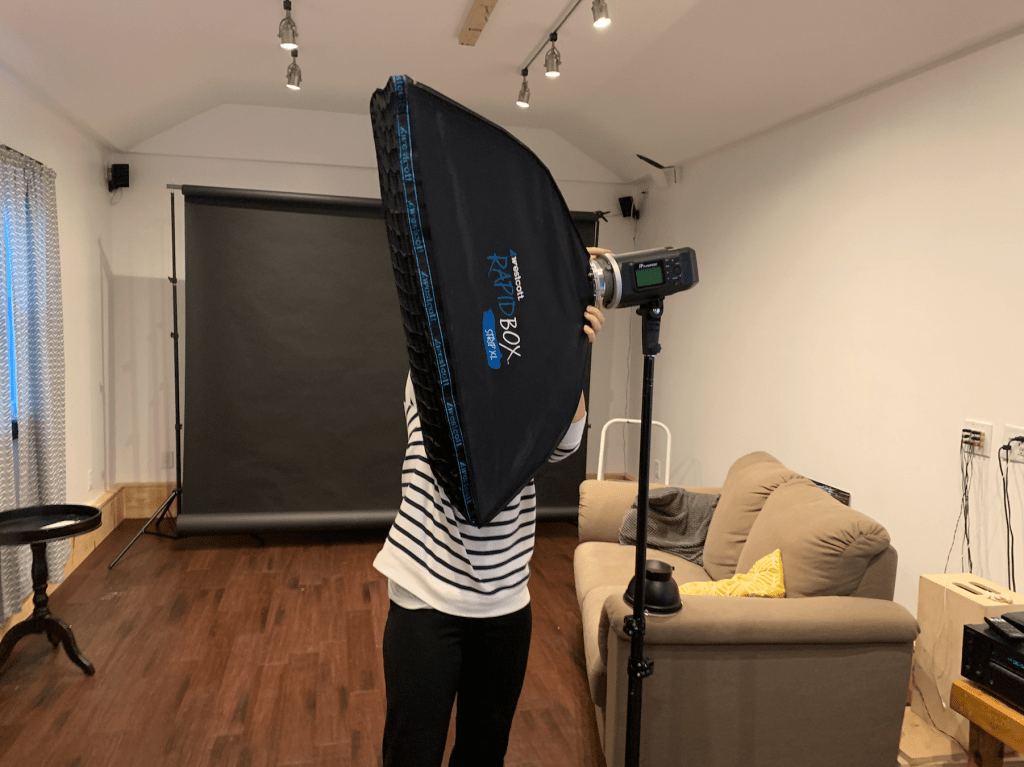
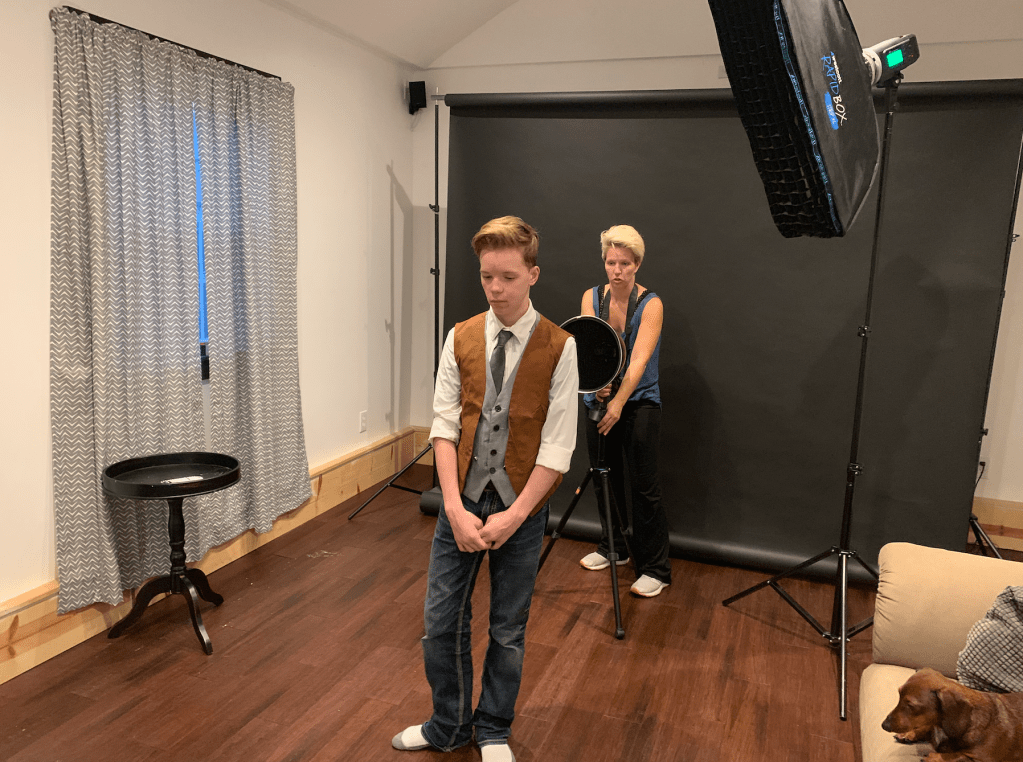
Today, Holly and I practiced shots and lighting set ups for her Film Noir shoot. I went to her house in the evening, so that it would be dark outside when we shot. As I mentioned in my previous blog post, the main lighting we used is the snoot. We also used two other lights.

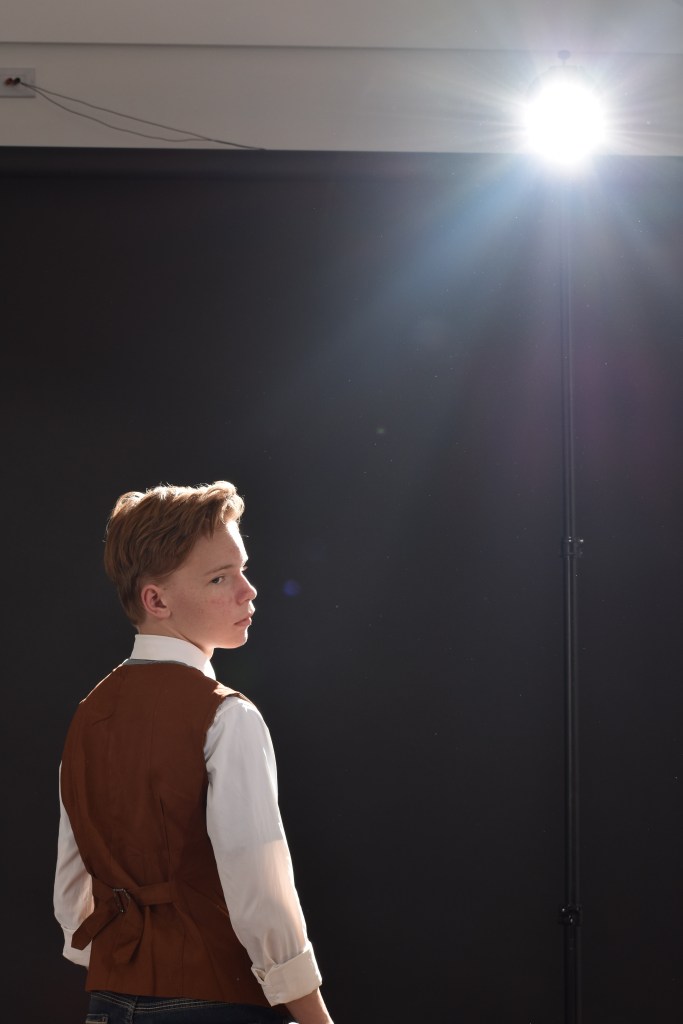
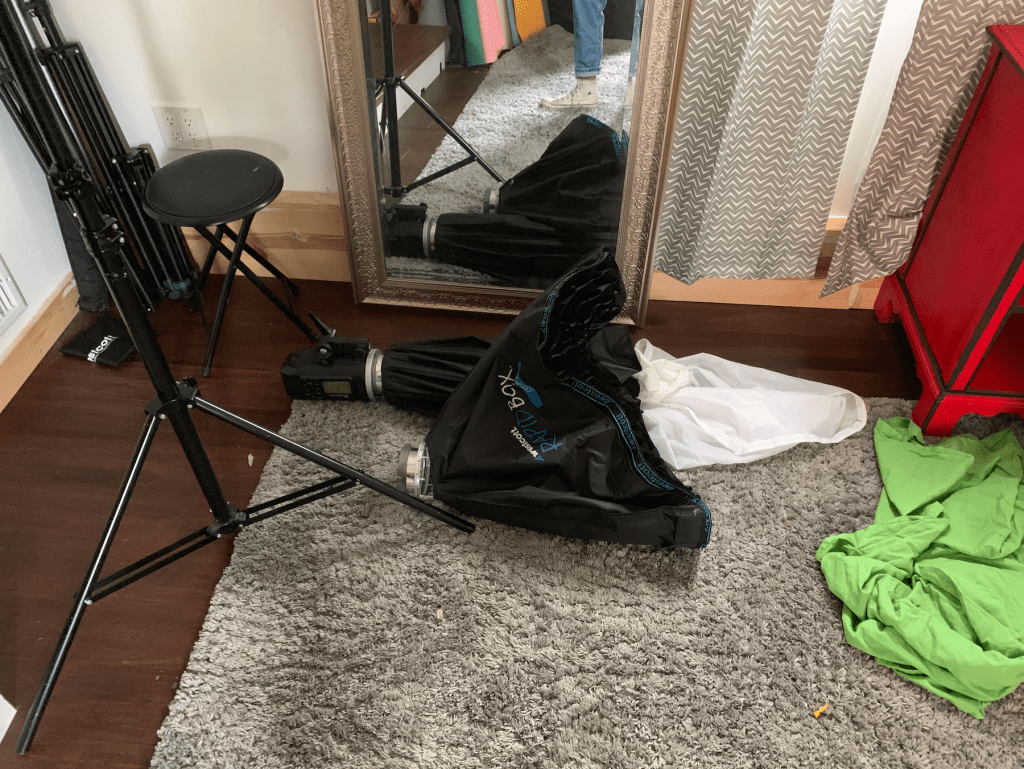
First, we took some shots inside and used a plain black background. We took different types of shots using the external flashes and moved them around for different looks. For example, we used the grid light in one and the normal flash in another. Additionally, we moved a flash behind Gabe and faced it at the background so there was a circle of light behind him, and then flipped it around so it acted as a rim light. To use external flash, you have to have a remote that connects to your camera. Luckily, Holly had an extra Nikon remote so I could take photos. Using the remote, the photographer can change how bright the external flashes are, as well as change your own camera’s settings.

After we shot inside, we moved outside. External flashes are great for outdoor shooting at night because you can decrease your shutter speed to a level that would usually be considered bad for hand-held photography because the flash “freezes” the image. Therefore, you can make the shutter speed slower to take in more light, without completely messing up the quality of your photos. This also helps you be able to get more of the background in the photo.

Day 10: September 5

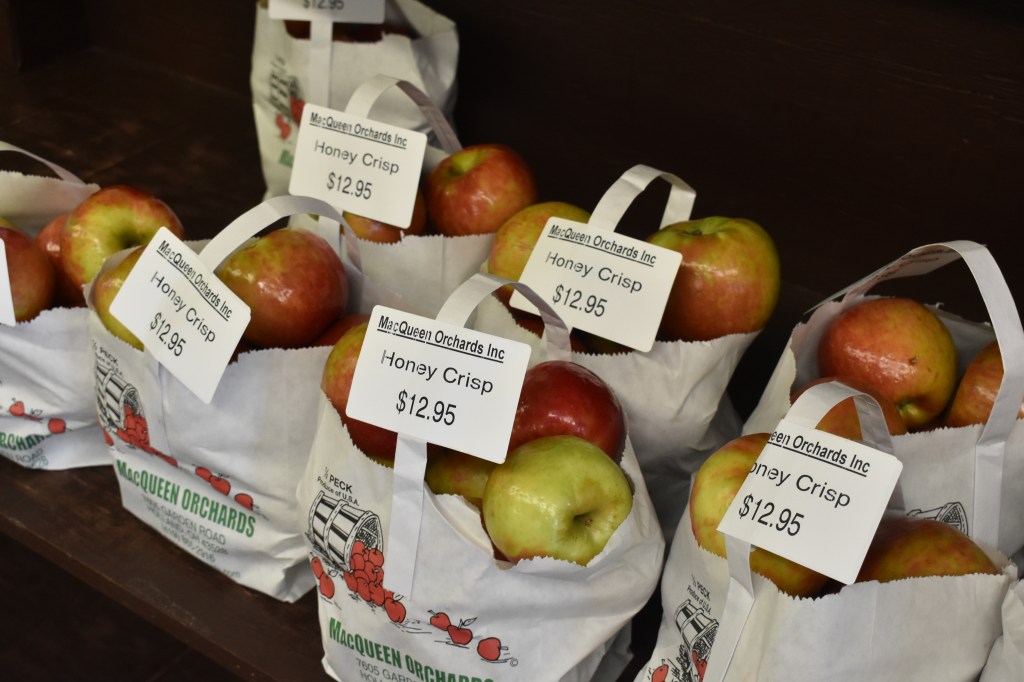
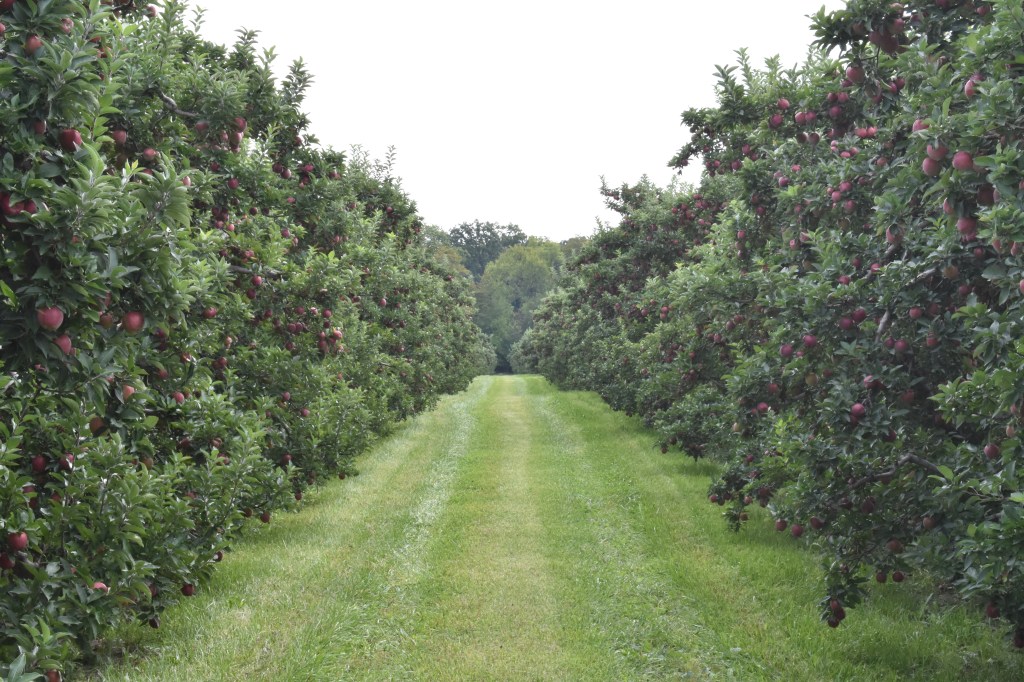
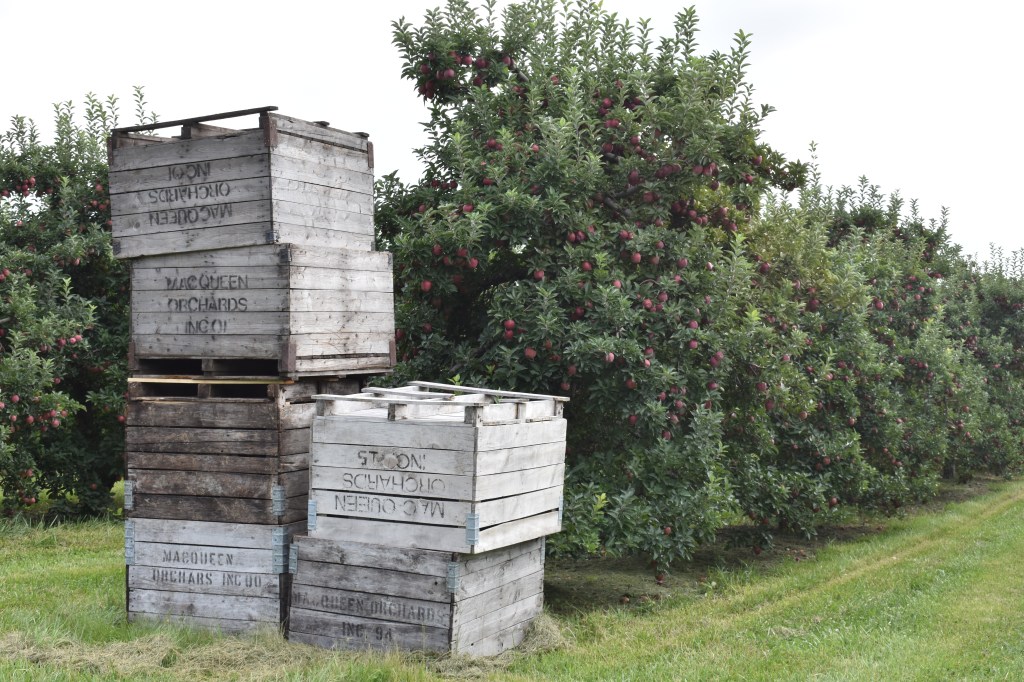
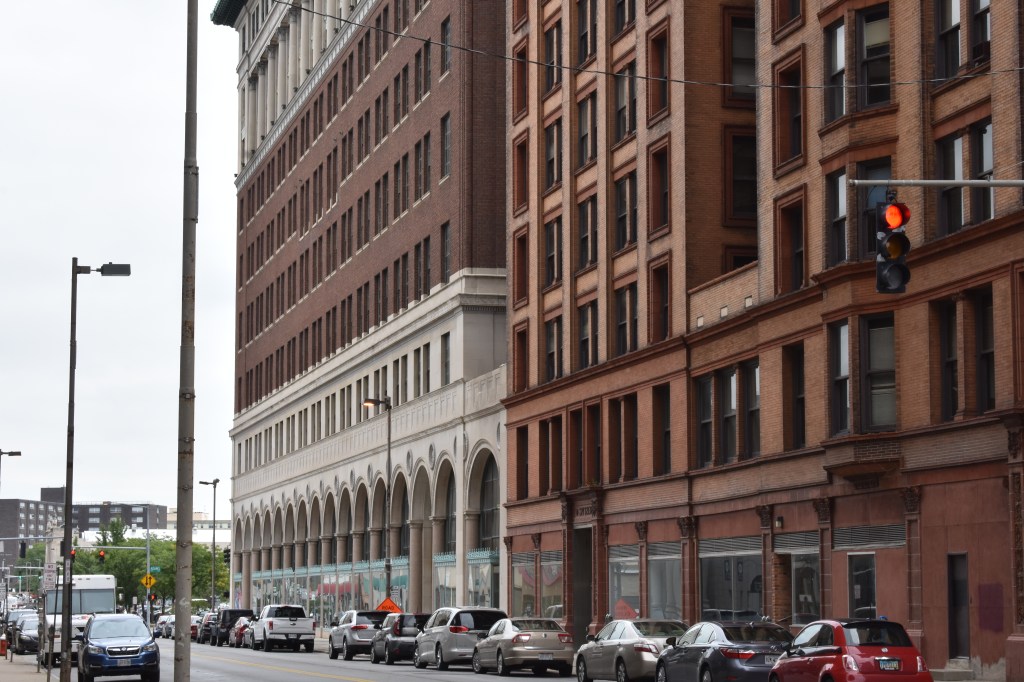
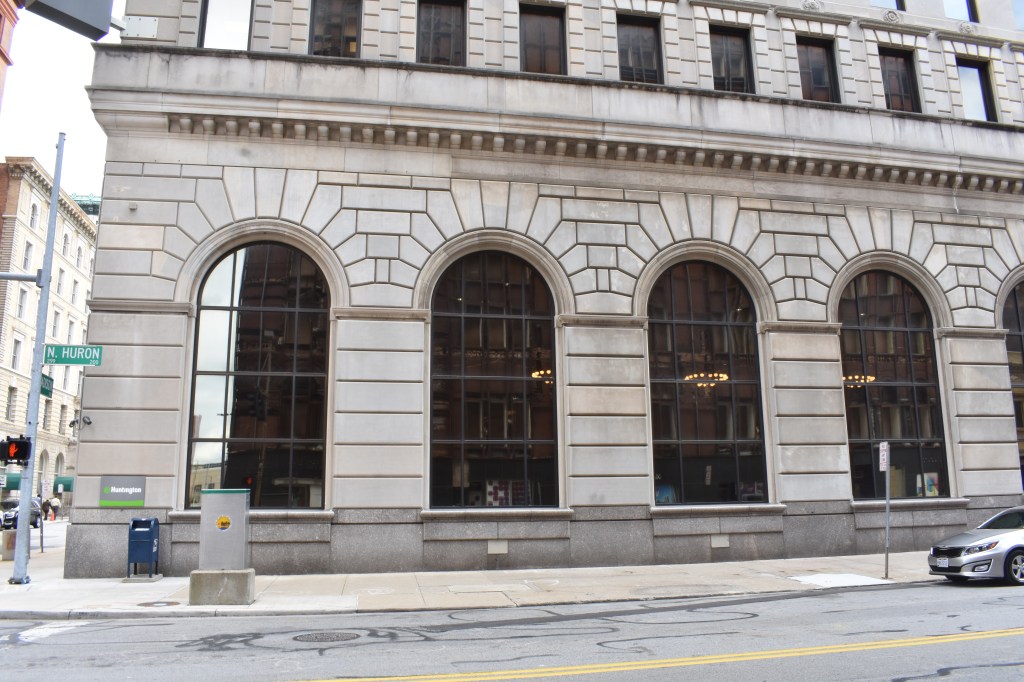
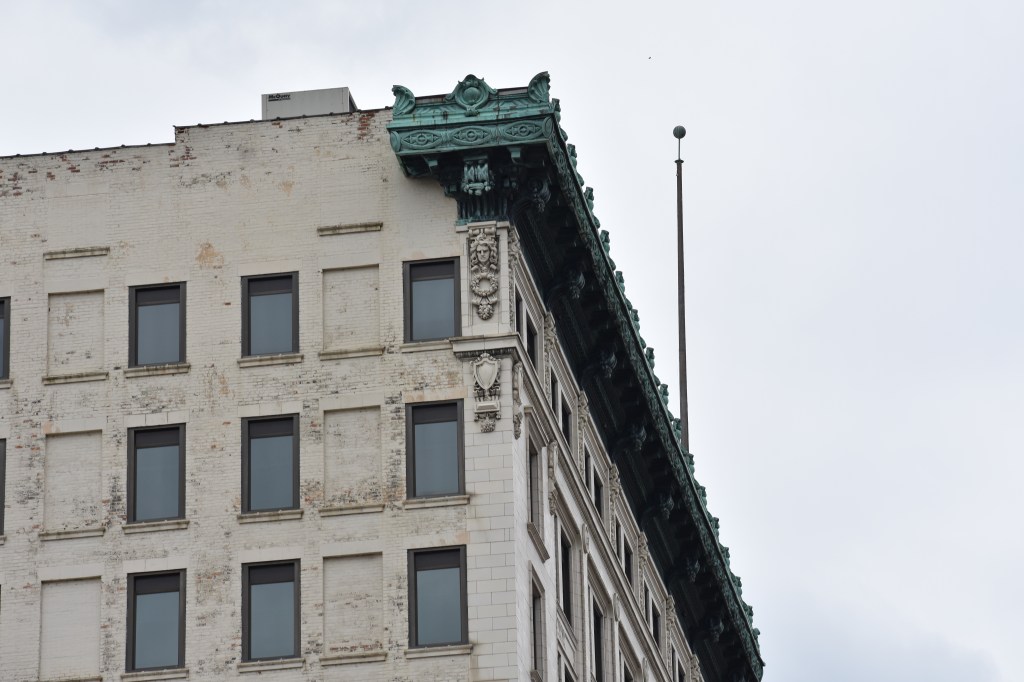
Today, Holly and I drove to several places in the Toledo area to shoot pictures for WTOL. The reason that we had to do this is because WTOL was bought out by another company and has to completely start from scratch with marketing materials. We had to take both detail shots and wide frame shots. One of the biggest challenges that we faced was that the photos that we were taking were supposed to be fall themed, but it isn’t fall yet. Additionally, it was an overcast day and WTOL will want to use pictures with a blue sky, not a white/grey sky. Fortunately, the sky is less of a problem because Holly can use Photoshop to make the sky blue.

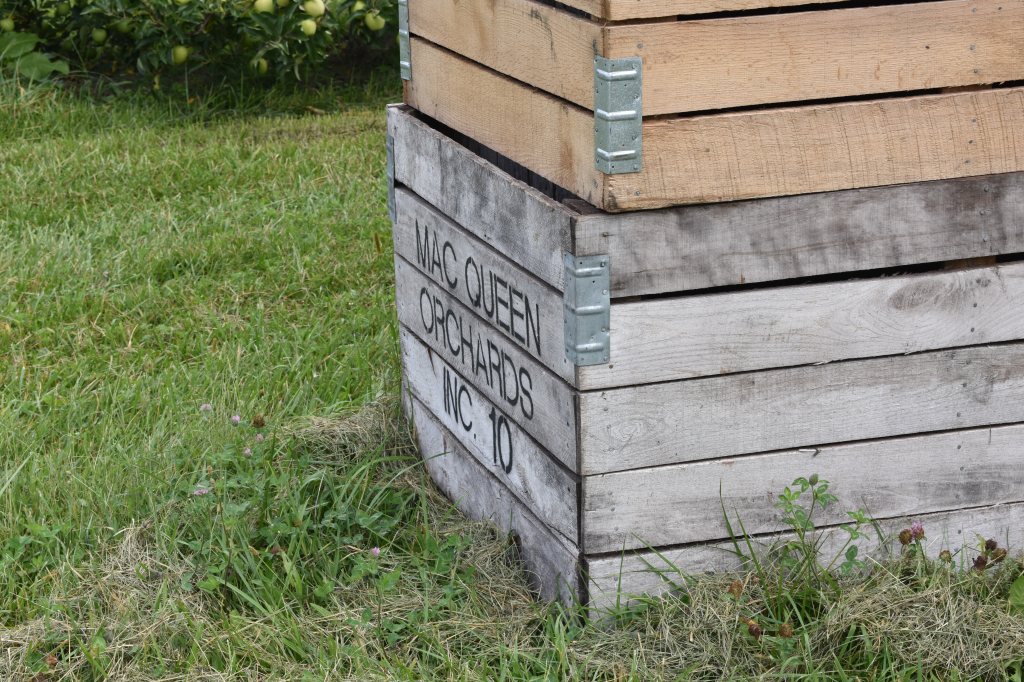
First, we went to MacQueen’s Apple Orchard. Although the orchards are usually open to the public, it was early in the season so we had to talk to one of the people that works there in order to go down to where the trees are. MacQueen’s was a good location for both wide shots and detail shots. It was also a good location because the apples and warm colors fit the fall theme.
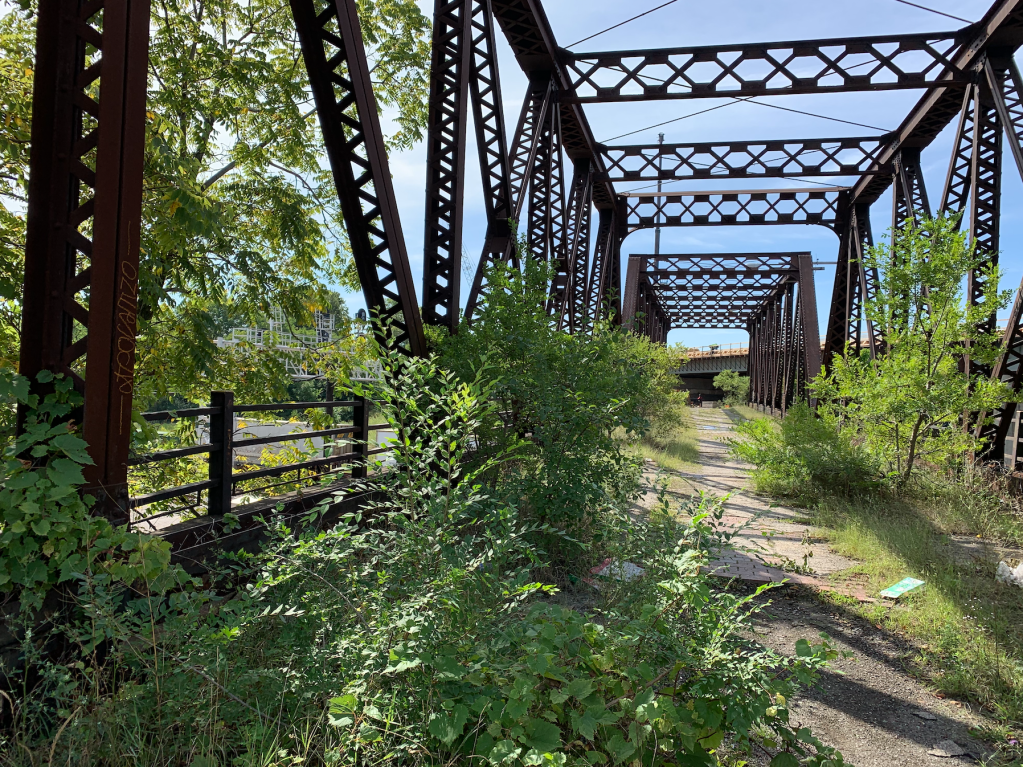
Next, we went to Downtown Toledo and walked around looking for photos. These photos were not as fall-themed, but were rather for general use at WTOL.

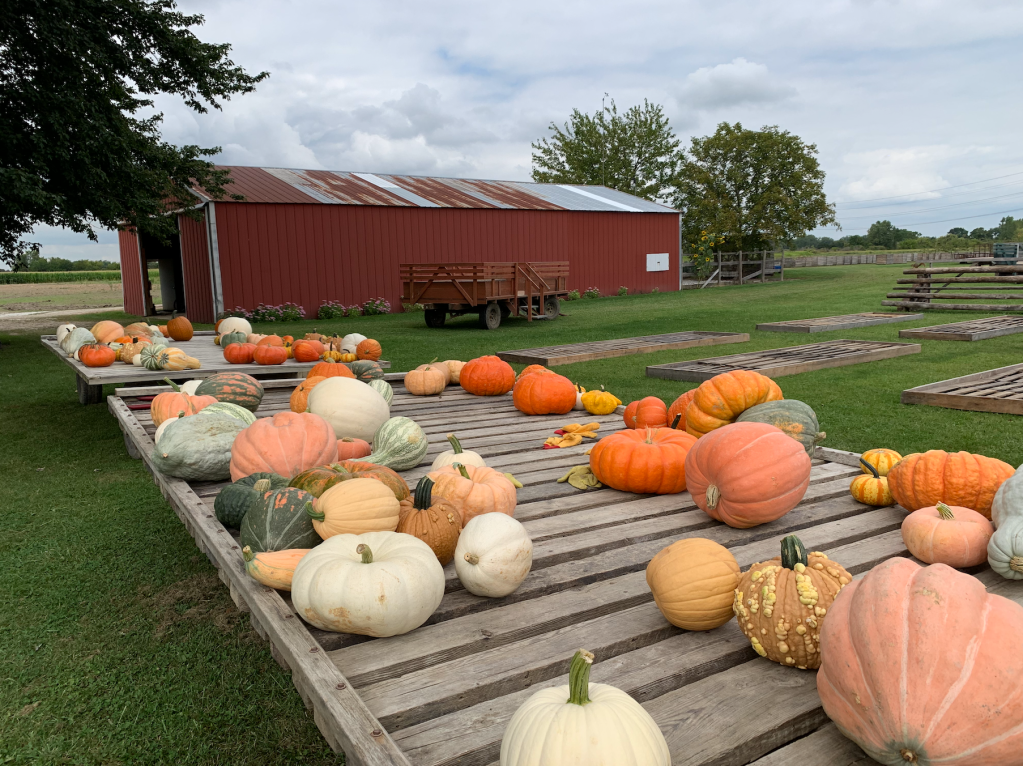
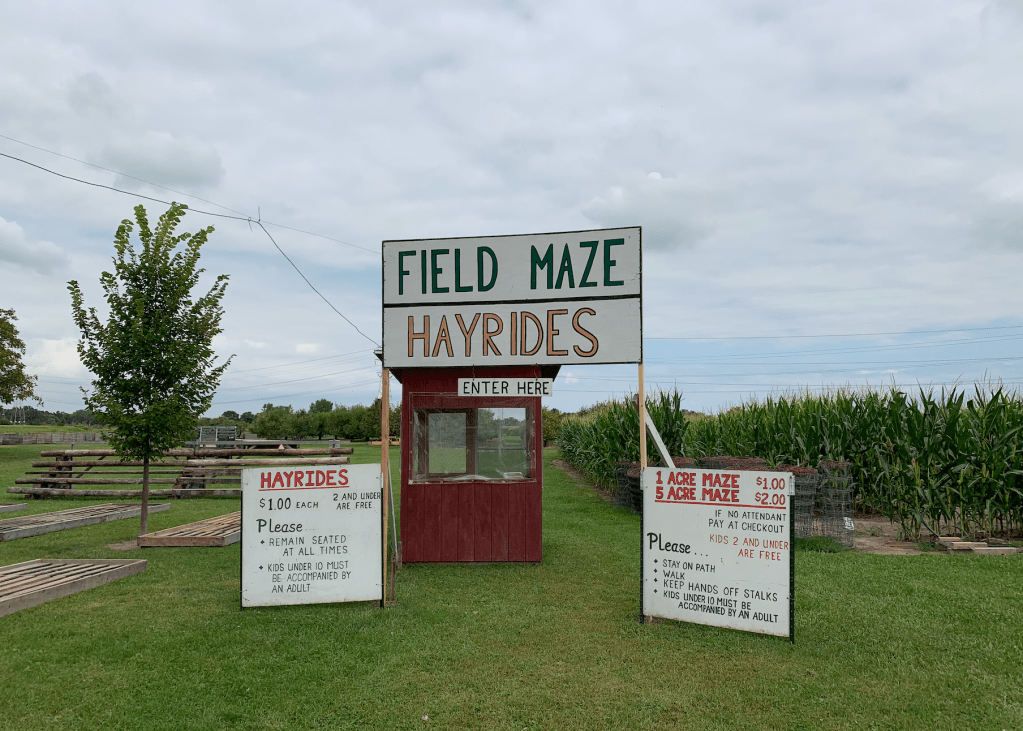
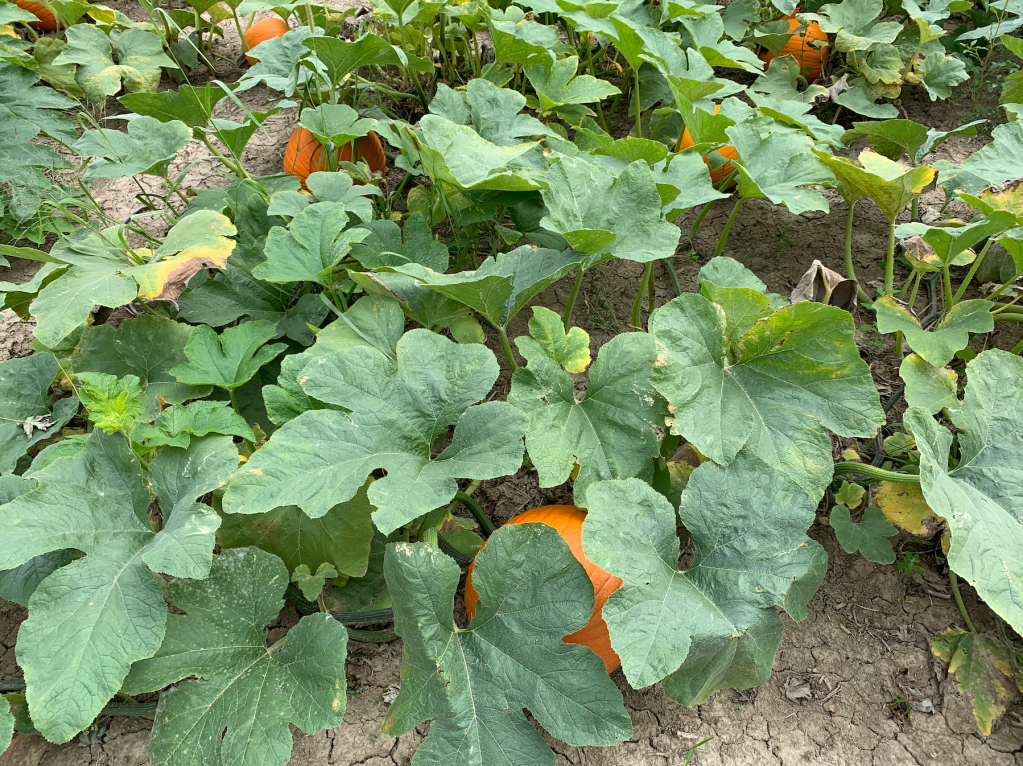
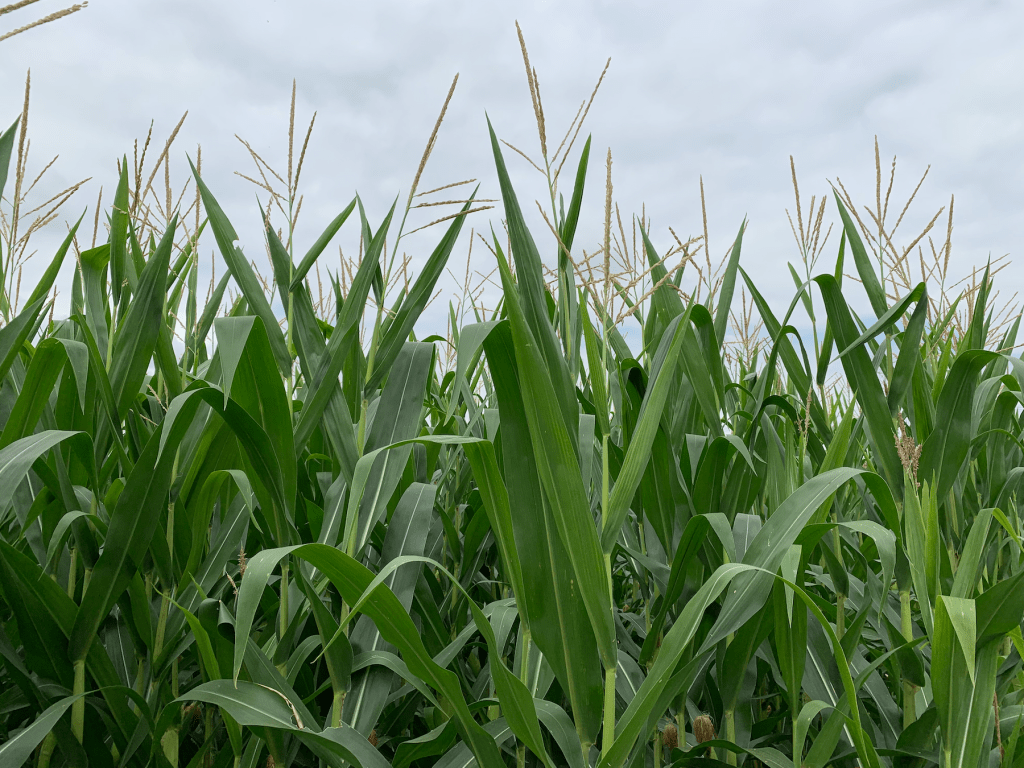
After we went Downtown, we went to Fleitz’s Pumpkin Farm in Oregon. This was a good location for fall themed photos because pumpkins and corn are a fall staple, as well as the warm tones that come with them.

Day 9: September 4

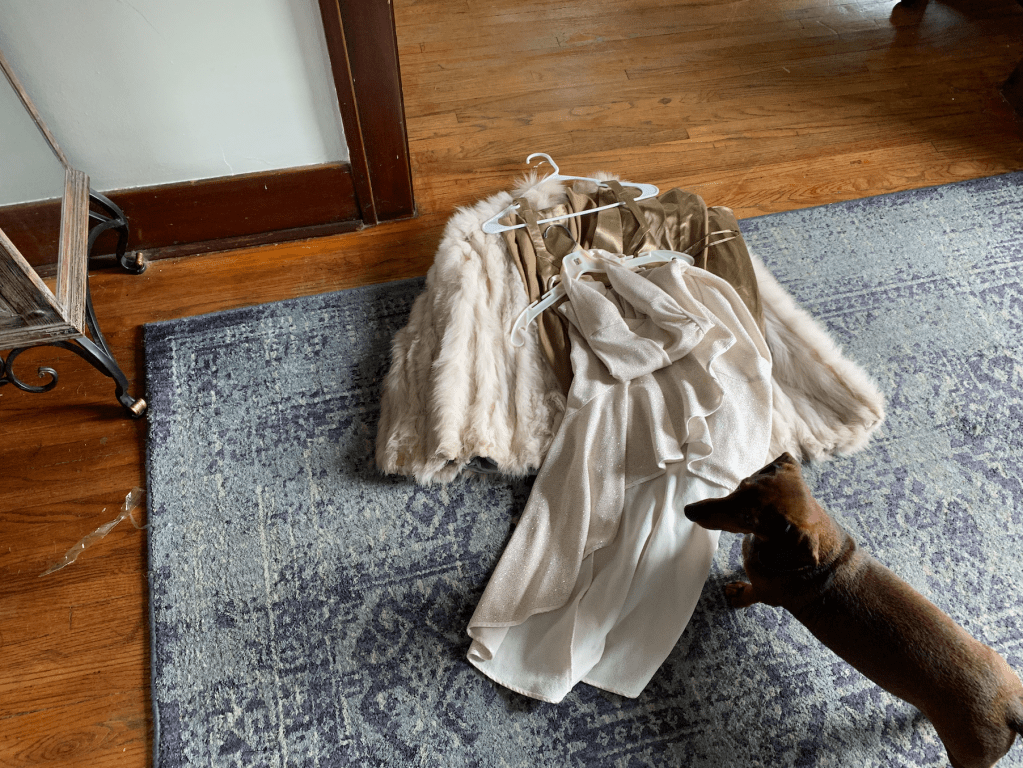
Today, Holly and I picked out outfits and planned more for her upcoming Film Noir shoot, as well as the practice shoot that we are going to do Friday night. Because all of the photos are going to be in black and white in a typical Film Noir style, picking out outfits was a lot easier than it would have been normally. We did not have to worry about colors that didn’t match the theme or each other, as in the final photos the colors would be completely desaturated. We picked out a couple dresses, fur coats, and hats that fit the theme. Holly also has glove and other props, such as a cigarette holder, that she will use in the shoot.

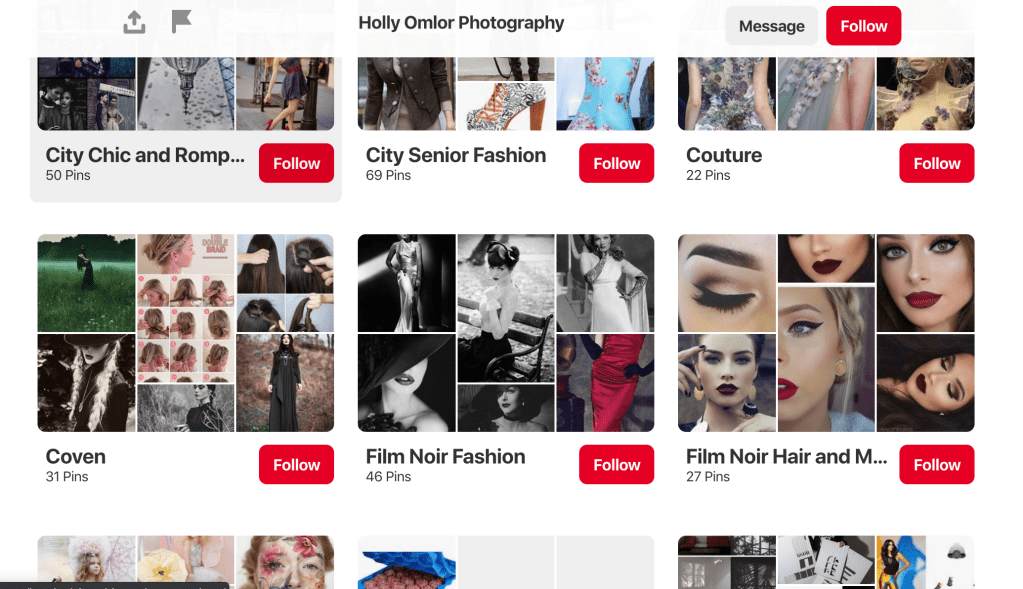
In order to come up with ideas for shoot and organize her own thoughts, Holly uses Pinterest. She has three different boards specifically for this shoot, as well as a couple other ones that are for general lighting ideas that she will be using during this shoot. The three boards are for hair and makeup, outfits, and general Film Noir ideas. Her lighting boards have different ideas on how to use shadows, and they also have different lighting setups that use different types of flashes and what the end results of said setups are. One example of a way that she plans on using shadows is cutting rectangles out of a piece of cardboard and put it in front of a light to make it look like the shadow from window blinds.

We also sent out some emails for new senior shoot clients that Holly has coming soon. Holly uses a website called 17hats to stay organized. All of her clients are recorded on the website and she has an automatic timeline that goes into affect when she adds a new contact. Today she added a contact for a boy that is going to be taking senior pictures with her. Because he is a boy, Holly had to edit some of the pre-drafted emails that are on the timeline that she made. Most of Holly’s clients are girls, so some of the guidelines that she has in her emails are geared towards them. After making some small edits, Holly used 17hats to send out the email. After she send the first email, 17hats automatically send follow up emails for her.

Day 8: September 3

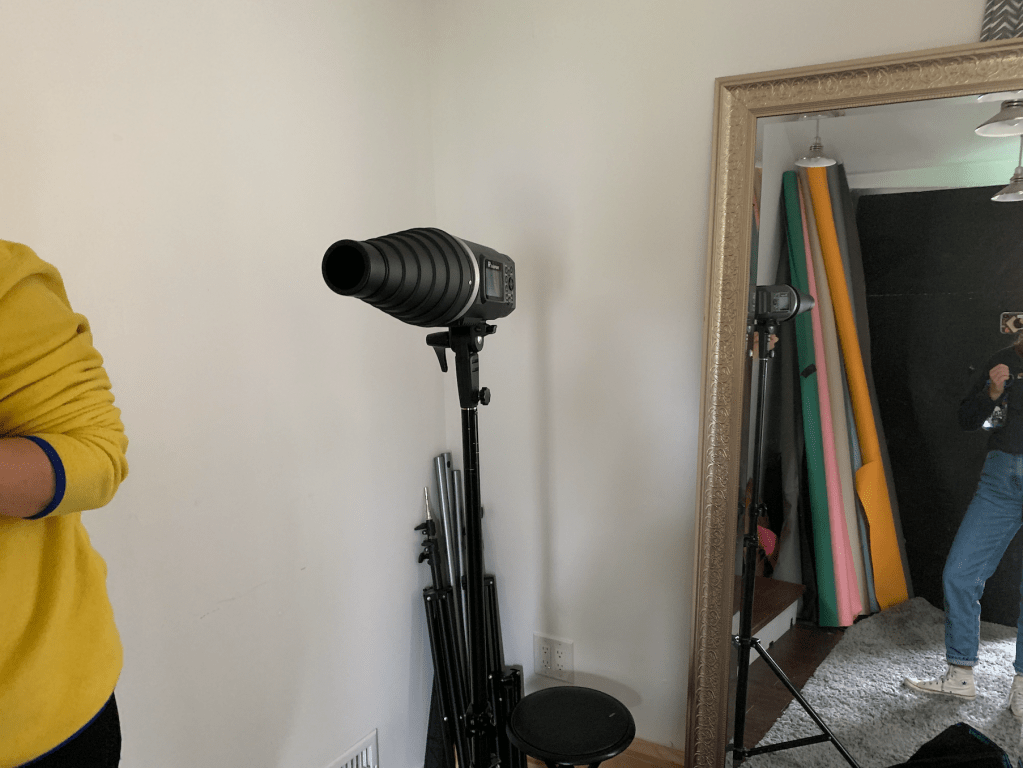
Today, Holly and I went over some details for one of her upcoming shoots, which is based on Film Noir. We discussed some of the plans that she has for shots, including the lighting needed to do so. Because of the dramatic nature of Film Noir photography, there are specific lights that need to be used in addition to normal external flash. One example of this is called the snoot. The snoot creates a concentrated circle of light on the subject, and Holly will be using it to light the subjects’ faces. Holly will also put a grid on the external flash so that the light does not spill over into places that she doesn’t want it to. The basis of Film Noir photography is contrasts and shadows, so the dramatic lighting will aid in achieving the style that Holly is aiming for.

The snoot.

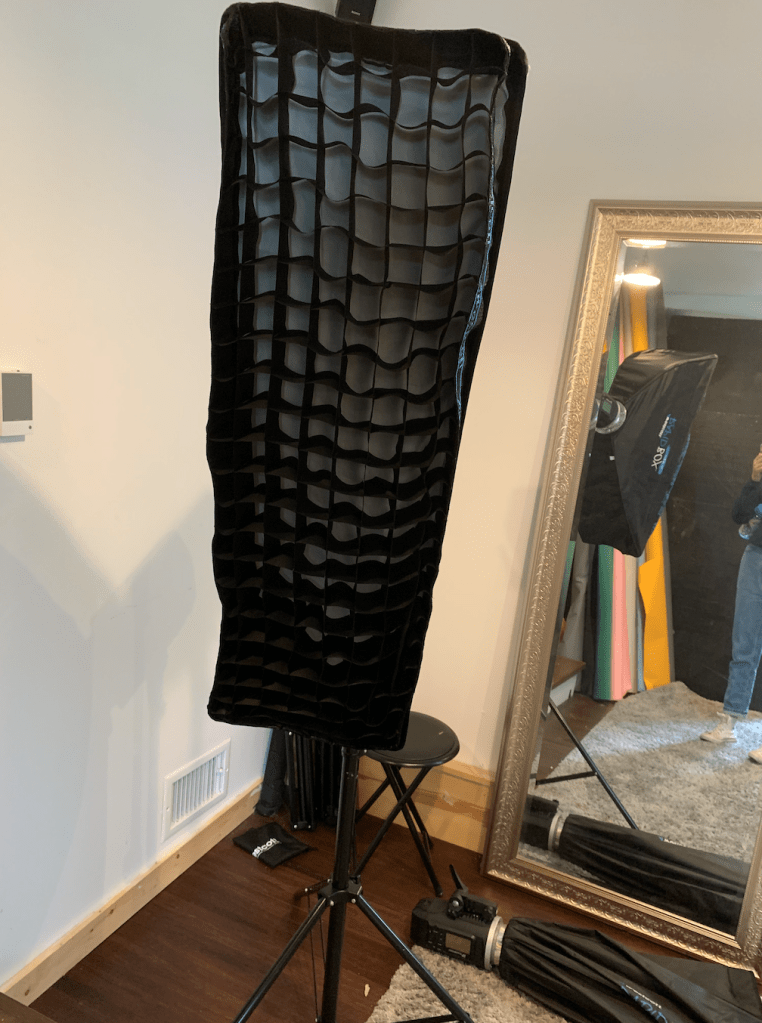
When Holly buys lighting materials she has to buy from the same brand for every product, especially because they are remotely connected. Unfortunately, this can add up monetarily. Even if there are other brands that have products for a cheaper price, she has to continue buying from the same brand, or else the products won’t work. The only way around this would be to buy a completely new lighting set up from a different brand. Not only could there be cheaper prices from a different brand, the products themselves are expensive in general. For example, a grid that gets attached to a light that Holly already has costs over $200. Its purpose is to stop light from spilling into places that it is not wanted.

The grid is attached.

We also worked on editing for one of Holly’s recent senior shoots. She showed me how she uses various tools to fix lighting and coloring in her photos. She often uses the gradient and brush tools to brighten places that she wants to brighten, and she uses the color specific hue, saturation, and vibrance tools to alter the way that the colors look in the photo.

Day 7: August 30

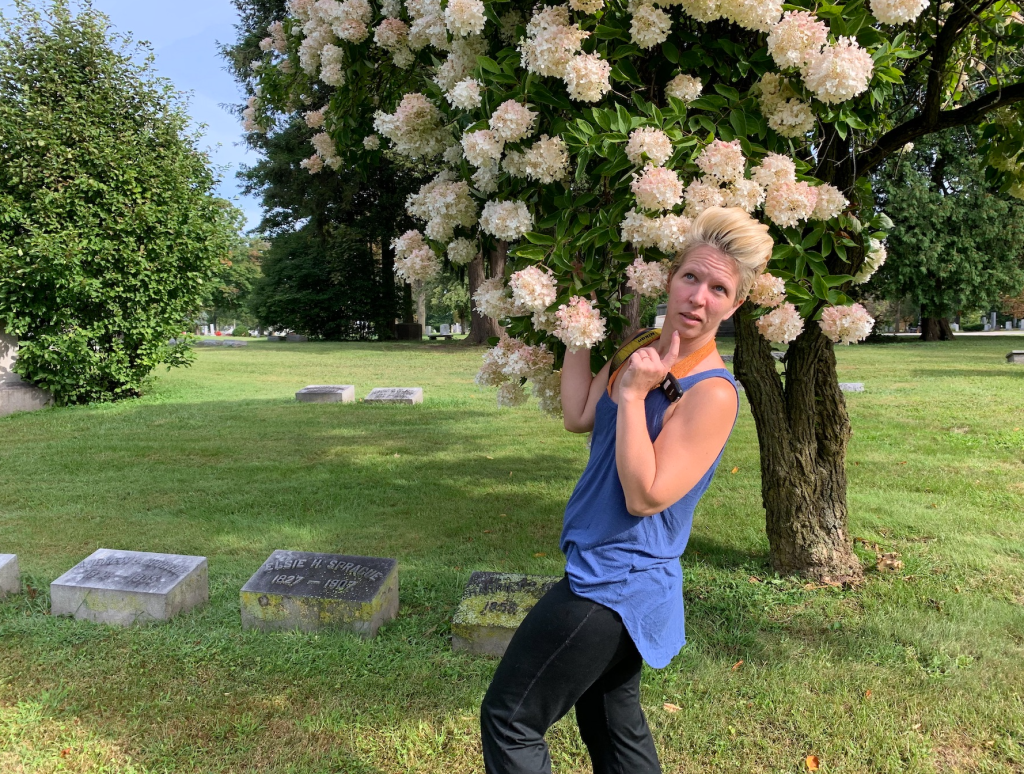
Today, Holly showed me a couple of her go-to spots for shooting around Toledo. For photographers, it is important to have locations with a lot of diversity because that way it looks like you went to multiple locations when you did not. This also helps a photographers photos to not all look the same. Holly’s favorite spot to shoot is the graveyard. This is one of her favorite spots because it is possible to shoot there in almost any light, it has lots of different landscapes for a large range of shots and backgrounds, and there are very few people around. She also likes to use the mausoleum as backgrounds or as a means to reflect the light.

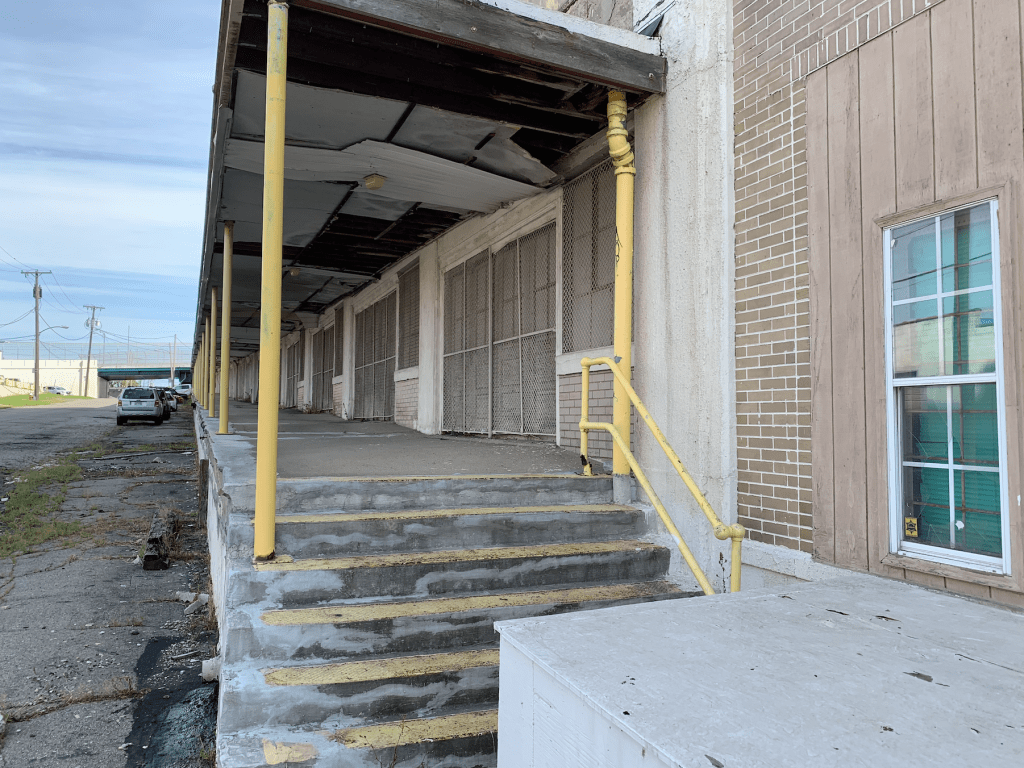
Another place that Holly likes to go to take photos is the Collingwood Arts Center. Similarly to the cemetery, there are a variety of options for settings and poses in one small area. There are cute steps that the subject can sit on, cool walls that can be used as backgrounds, and pretty plants to spice up the foreground.

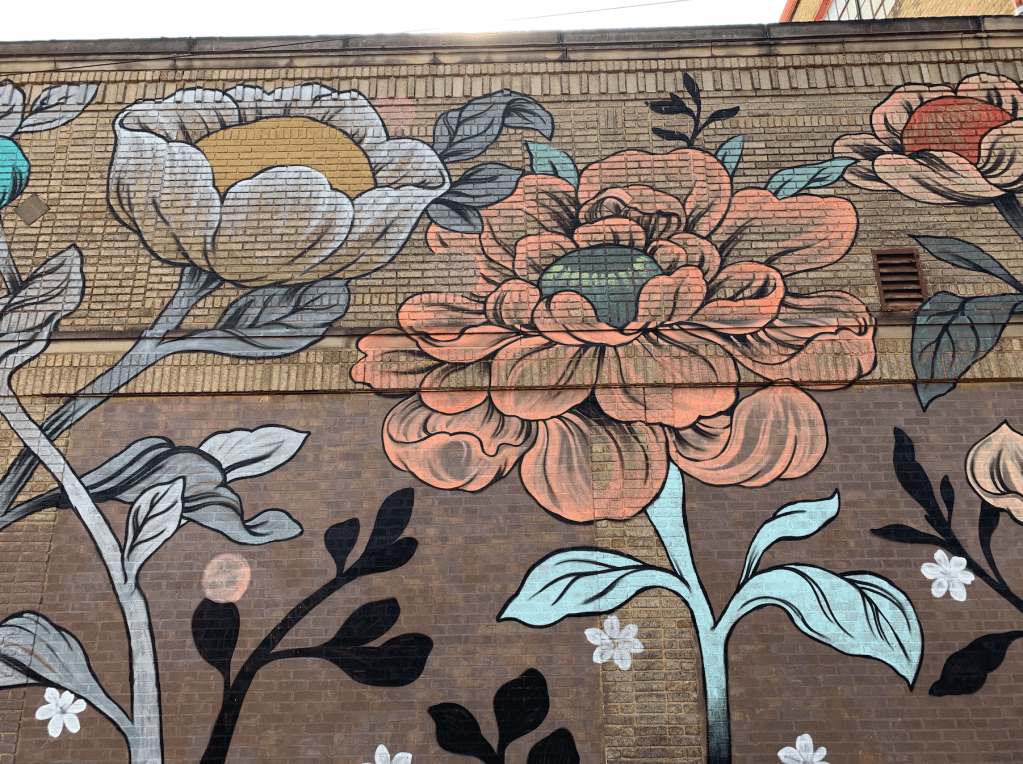
Holly also likes to shot at the murals in Toledo, the bridge, the pier, and a specific field in Downtown. She also sometimes just walks around downtown and finds cool spots for photos.

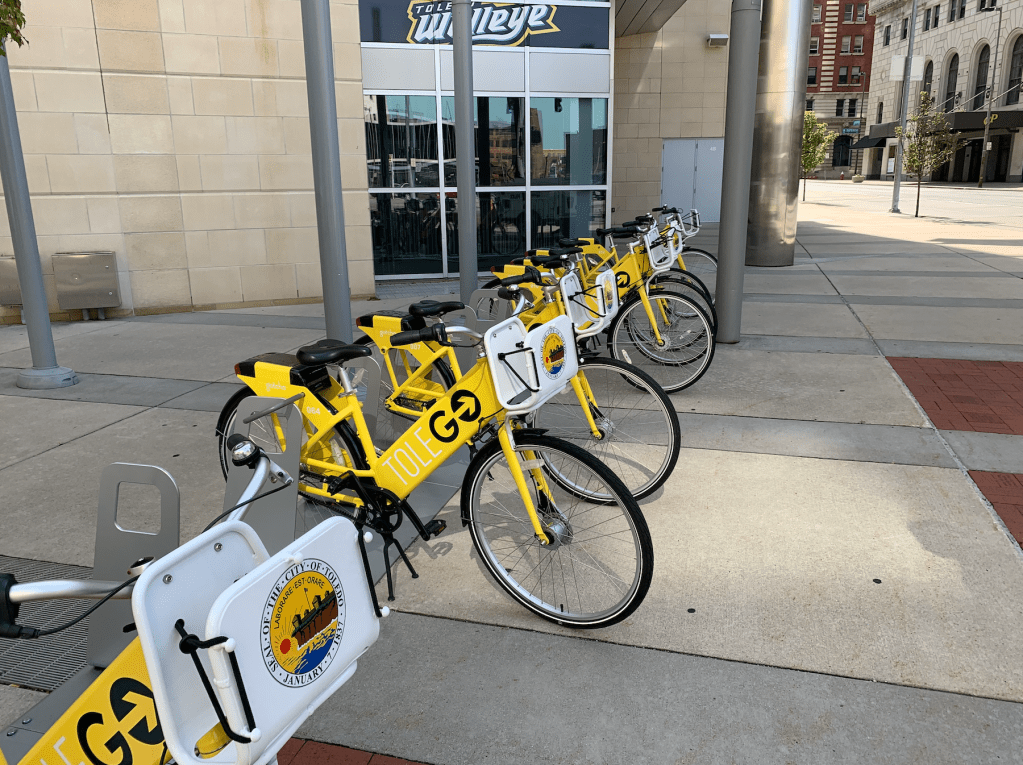
When walking around Toledo looking for places to shoot, Holly looks for patterns. Some that she pointed out to me were the repeating patterns of the public use bikes Downtown, as well as the pipes along the edge of a walkway near the Amtrak station.

Day 6: August 29

Today Holly was sick so I worked on learning more about some of the photography techniques she has mentioned to me. One way I did this was using her idea of a homemade reflector. The homemade reflector that Holly uses is a large piece of Styrofoam that is painted silver. I wanted to make mine out of a different material so I could compare how different the end results were. I used a white poster board for mine and did not paint it silver. When I used the “reflector”, I also practiced the concept of open shade. Open shade is helpful when shooting outside during the day, especially when the sun is bright. Essentially, open shade is when the subject stands in a shaded area but is still lit up from the sun. For example, the subject may stand in the shadow of a building, but the sun is still hitting them.

My subject when I was practicing these concepts was Tyson. He is standing in open shade, so the light is hitting him but he isn’t over exposed. Additionally, I used the reflector to balance out the shadows on his face from the angle of the sun.

Without the “reflector”.
With the “reflector”. In this photo, Tyson’s face is more evenly lit.

Day 5: August 28

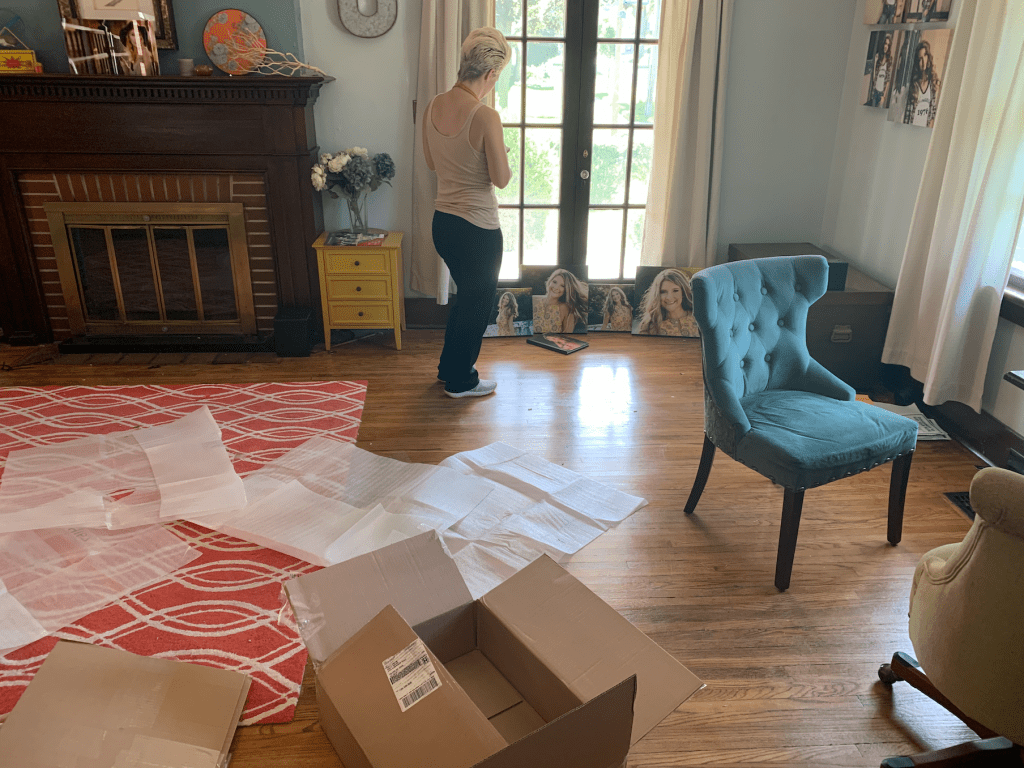
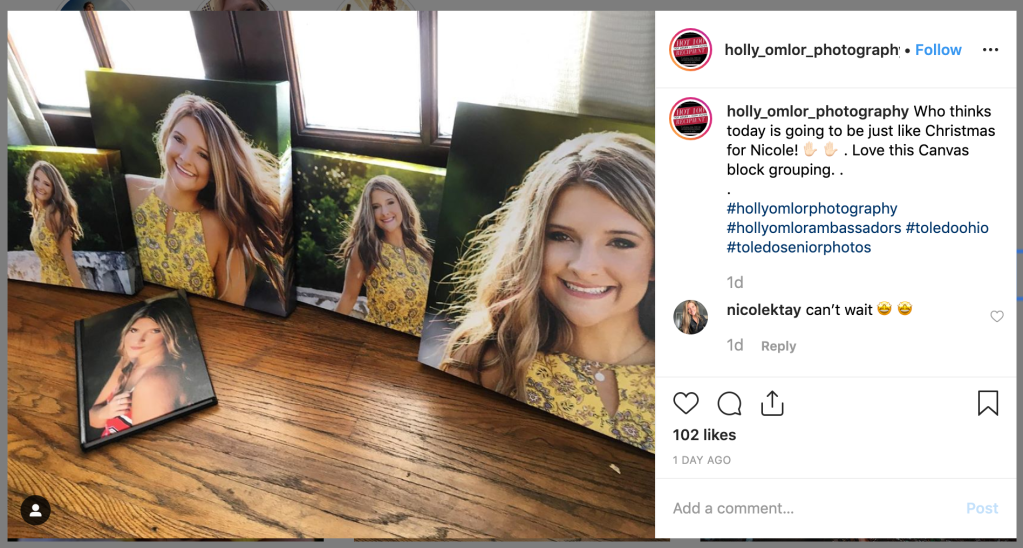
Today, Holly and I worked on marketing and prepared more for the creative shoot that is coming up. She recently received a package of portraits that had been printed on canvases. When Holly receives packages of items that people have ordered from her, she always double-checks that they are exactly what the client ordered. So we unwrapped the four canvases and cross referenced the receipt from the order and what we actually received. Fortunately, everything was correct. Because we had everything unwrapped, Holly took the opportunity to use the canvases as marketing strategy. She took a photo of them together and posted them on her Instagram. Holly says that she posts pictures of the products that people get using her photos so that potential clients can see what packages they can get. 

Additionally, when Holly was taking said photo, she showed me a cool “life-hack” for people who may not want to spend money on a reflector: she spray painted a large piece of styrofoam silver. She used it in this photo in order to reflect the light from the window back on the canvases.

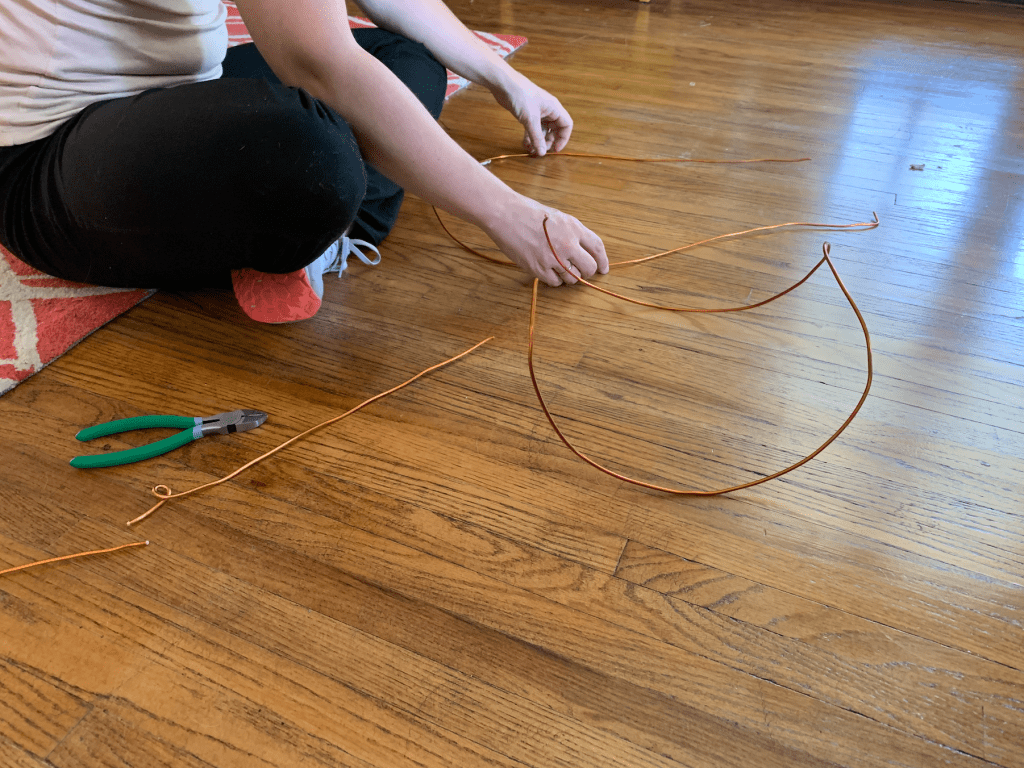
Next, we went to Michael’s and Home Depot to look for wire for the headdress that we are making for the upcoming shoot. Unfortunately, the wire at Michael’s wasn’t thick enough, so we went to Home Depot. After buying the wire, we went back to Holly’s house to start building it. 

Day 4: August 27

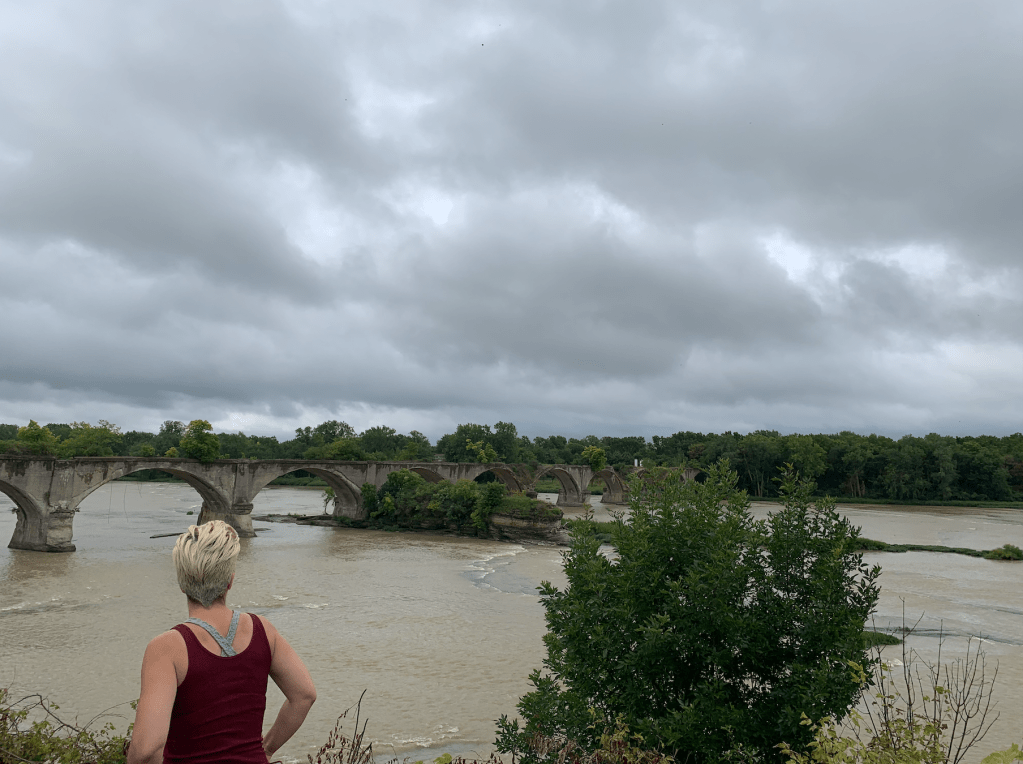
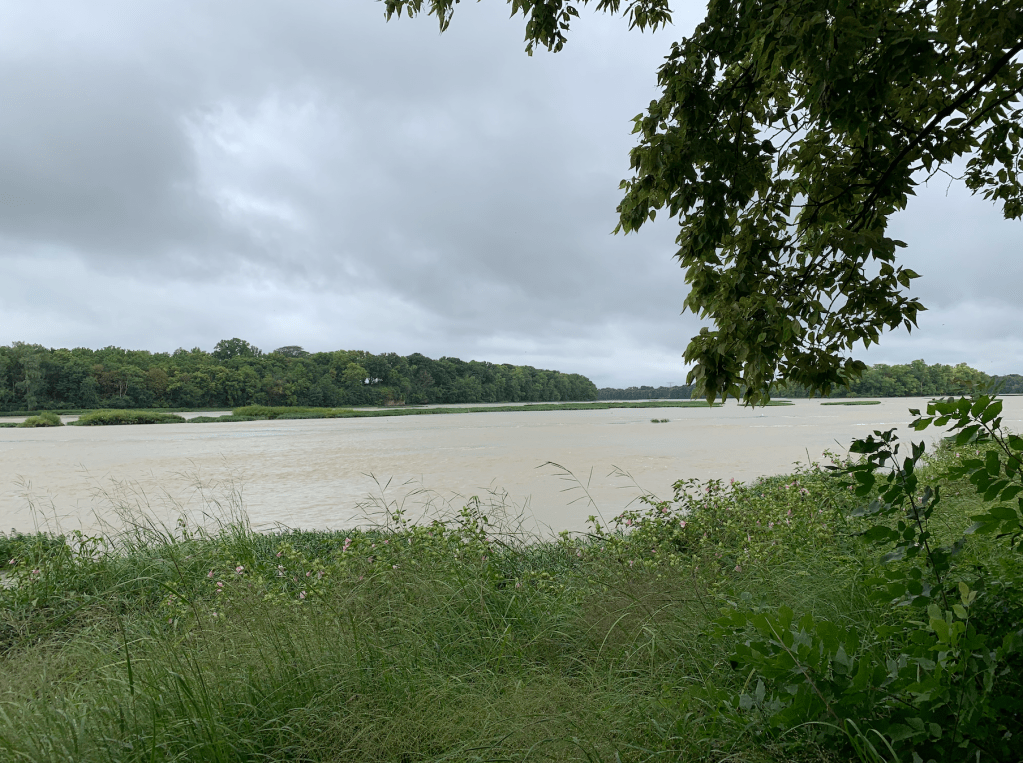
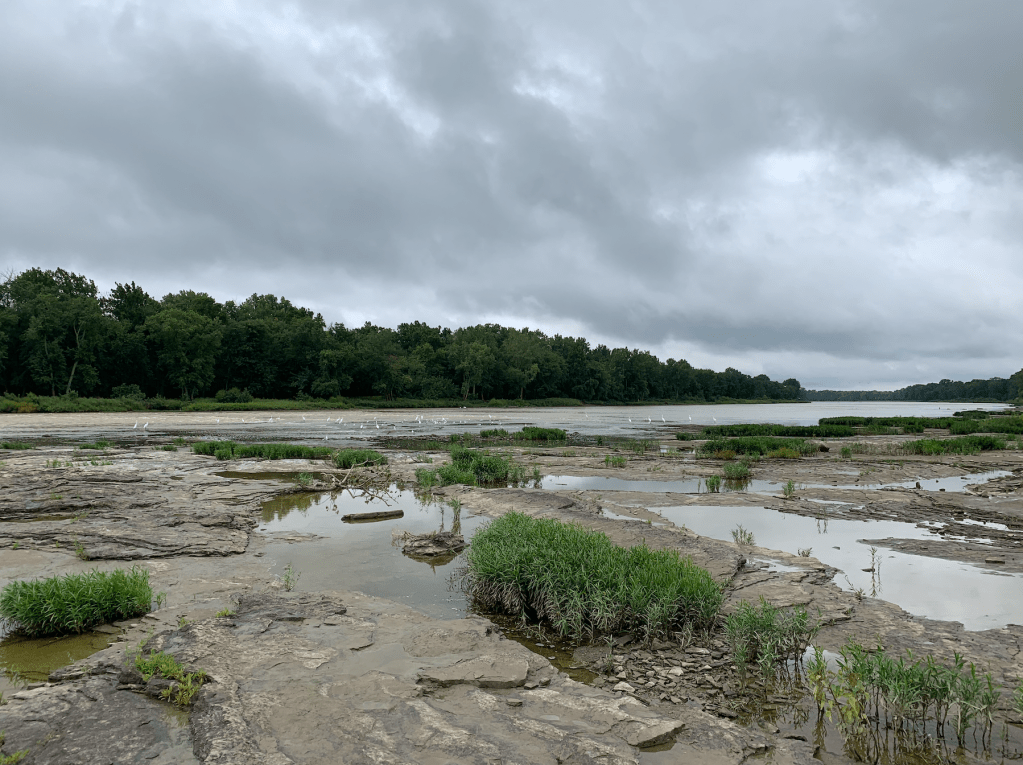
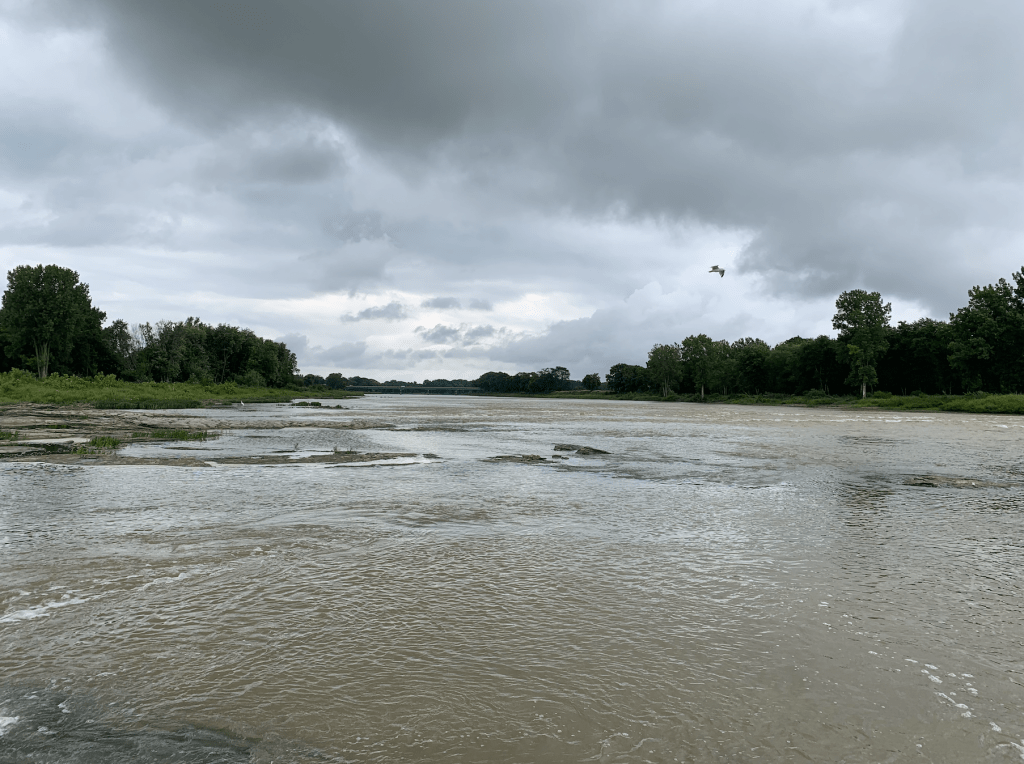
Today Holly started preparing for the shoot that is on Thursday. There were many things that we needed to organize for it, such as making the outfit and scouting the location of the shoot. First, we scouted the locations that Holly was considering for her shoot. The first location was near the Roche de Boeuf Bridge in Waterville. This is Holly’s favorite location for the shoot, but it is not easily accessible and we do not have a lot of time for the shoot on Thursday.

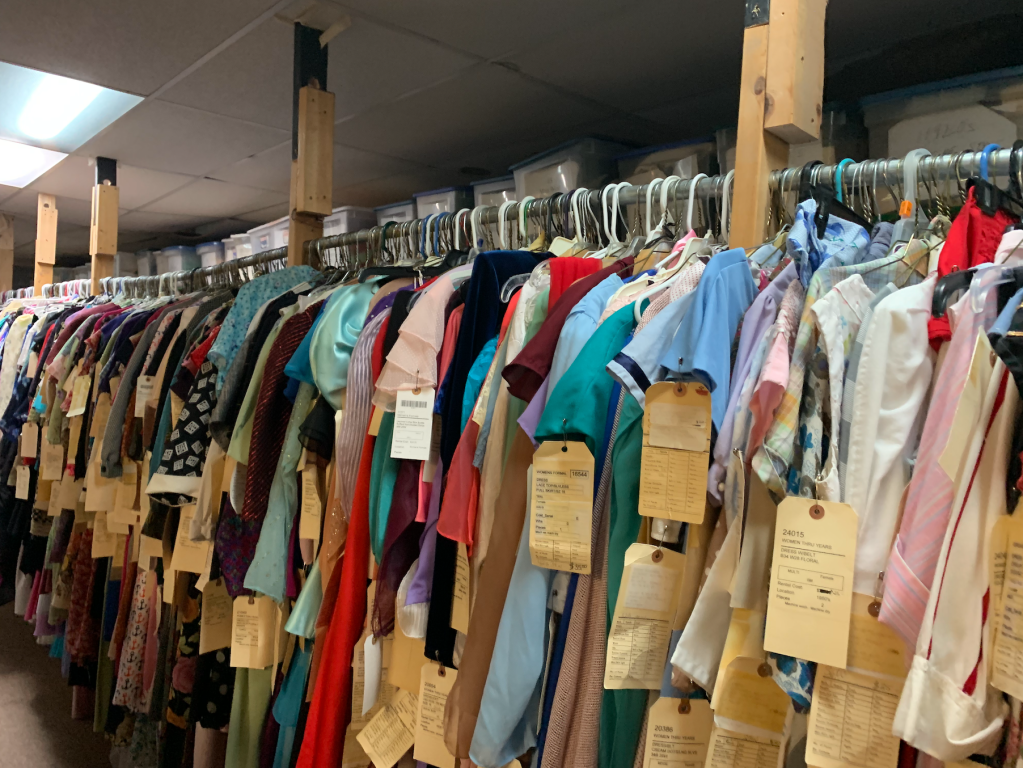
While we were in Waterville, Holly showed me one of the costuming resources she has. She stressed the importance of having good, friendly contacts when you’re a business owner–regardless of what business that is. This resource in particular is very helpful for Holly because if she doesn’t want to buy a piece, she can rent it from here.

After looking around at the costuming place, we went to the second place Holly was considering for the shooting location at Side Cut Metro Park. Although this location was more easily accessible, the road was right above where we could take pictures and the sunset location isn’t ideal. Due to the location of the sunset in regards to the shooting area, it might force us to have less time shooting and force us to sacrifice cool shots.

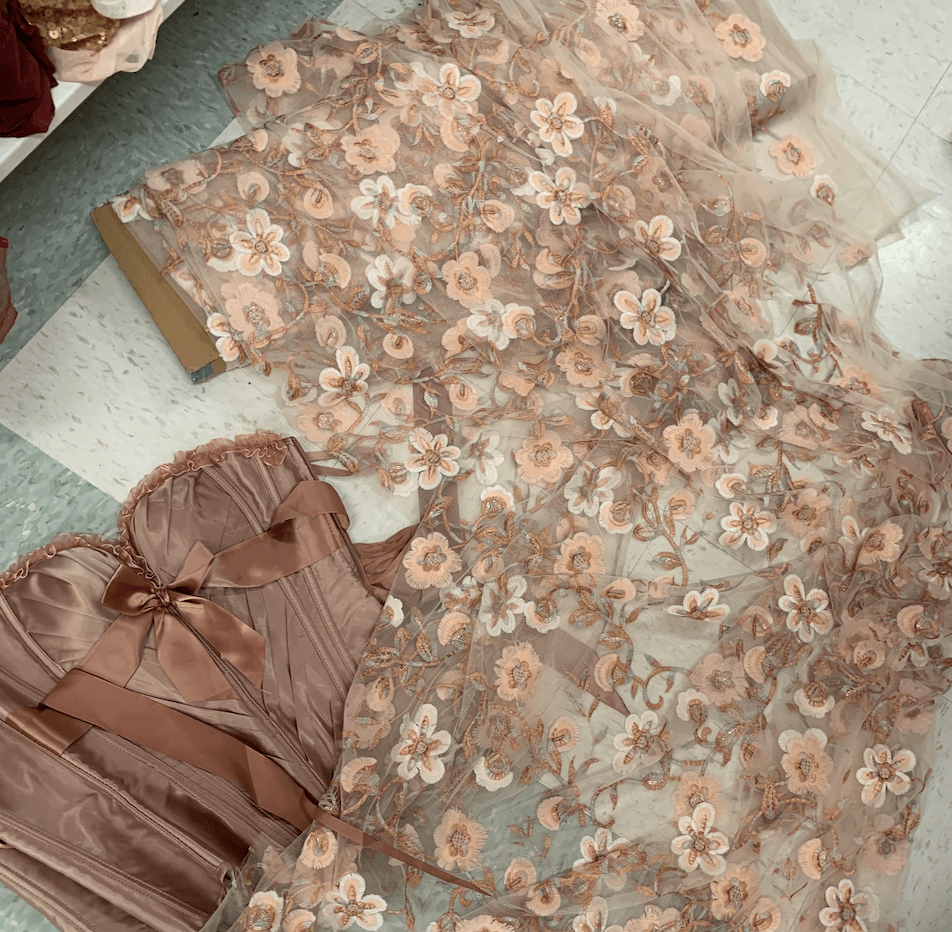
After scouting we went to Joann Fabrics to come up with ideas for the skirt of the dress that we are going to make. Because Holly wants the focus of the photos to be on the hair, makeup, and floral headdress that the subject of the shoot is going to be wearing, she doesn’t want the dress itself to be too extravagant. So when we were at Joann Fabrics we looked for natural colored, light-weight fabrics that matched with the pink bodice that Holly already owned. Holly wants the skirt of the dress to be light-weight because she wants it to move naturally with the wind and water to fit the theme of summer and Mother Nature. In addition to the weight of the fabric we also had to take account of the cost and yardage of the fabric that we were considering using.

Day 3: August 26

Today I met up with Holly for the first time. We talked about a variety of things, including the schedule for this week and how she organizes her schedule. In general, Holly has days for certain tasks. For example, she has shooting days where she works on photo shoots the entire work day. Other days include marketing days, editing days, and ordering days, among others. This week she has a creative shoot, so the next couple days will be preparing for the shoot, which will most likely be on Thursday-weather permitting. Tomorrow we will be prepping for the shoot. The shoot is based on summer, so the dress and collar that we will be making will be light and floral. During the scout we will consider what photos she wants to take so on the day of the shoot she maximizes her time.


Holly also taught me about different types of writing techniques and when they can be used. Some types that she talked about are natural, flash, and ice lighting. Natural lighting can be used when the photographer wants a softer, more blown-out look. It brings all the levels of the photo together and kind of blends the foreground and background. But natural lighting can’t be used all the time, especially in situations where the sun is bright and directly above the person the photographer is shooting. When the sun is directly above the subject it casts shadows on their face. In some cases this can be fixed by simply using a reflector, but other times the photographer would want to use external flash.

External flash not the flash on the camera, it comes from lights that are remotely connected to the camera. Flash creates a photo that has more contrast than natural lighting. When a photographer uses flash, it is to balance the natural light that is being used. For example, if the sun is coming from an angle a flash will be used to light where the shadows from the natural light are.


Holly also gave me the basic descriptions of the softwares that she uses to edit her photos. She uses Photo Mechanic, Capture One, Fundy, Lightroom, and Photoshop. Photo Mechanic is one of the most important but simple apps that she uses. Photographers often shoot in RAW rather than JPEG so that editing their photos in post is easier. A RAW file is made up of many layers, while a JPEG is just one layer. So when a photographer wants to edit a RAW photo, they can edit one specific layer, For example, if you wanted to raise the brightness of a photo, if it were a RAW photo, you could raise the brightness on some parts but not others, while in a JPEG you would have to raise the brightness of the whole photo. Although shooting in RAW is advantageous, the files are large and take a while to load. This is where Photo Mechanic becomes very useful. It doesn’t show the photos at full resolution, making it easier and faster to review photos after a shoot.

Design a site like this with WordPress.com
Get started